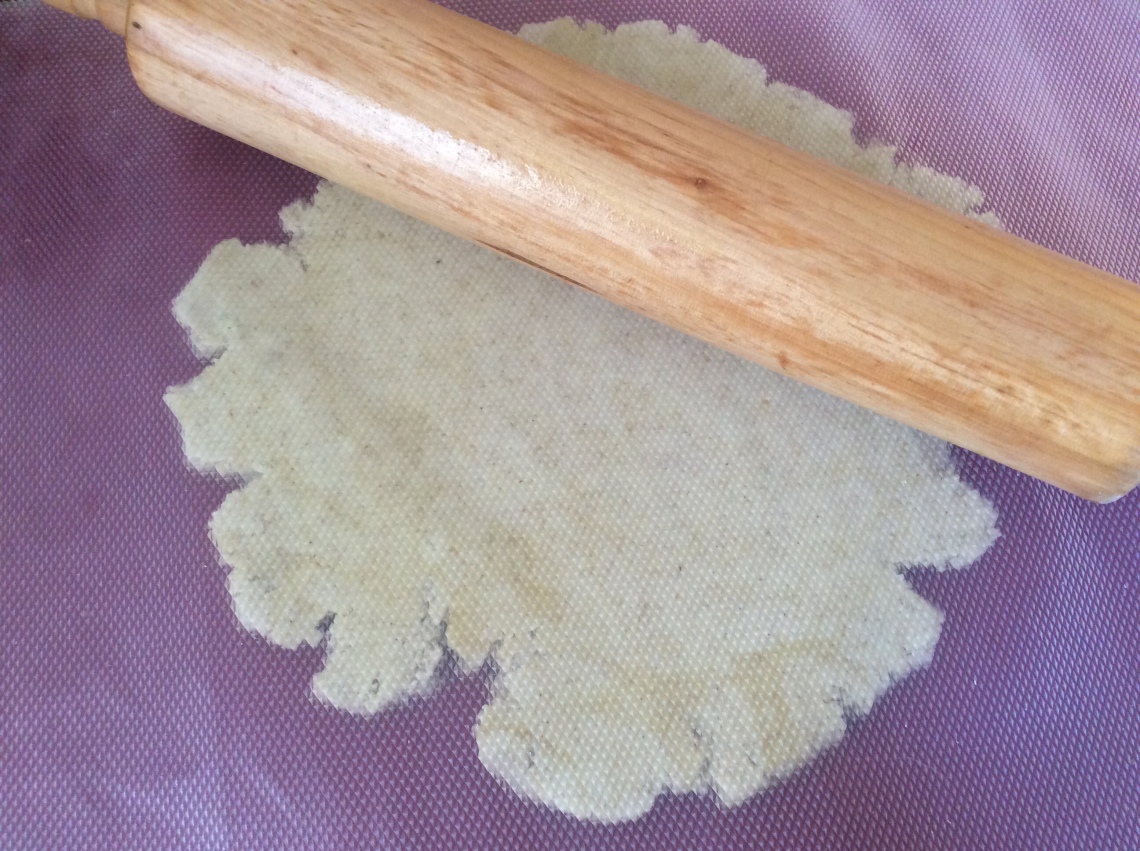
Hello again, dear neighbors ! If you have ever had to roll out gluten-free pie dough, you know how tricky it can get. It usually sticks to the rolling pin, at least in my experience. To get around this issue without using extra flour, most people place the dough between 2 pieces of parchment paper. I used to do it between a silicone mat and parchment paper but somehow always got wrinkles on the parchment side of the dough. Then one day I spotted some cheap drawer/cupboard plastic liner in a store and decided to use this along with the silicone mat. My dough, be it pie dough or pasta dough, sandwiched between the two, is much easier to roll out, with no more wrinkles!
Nothing better than photos to show you what I mean, so here we go:
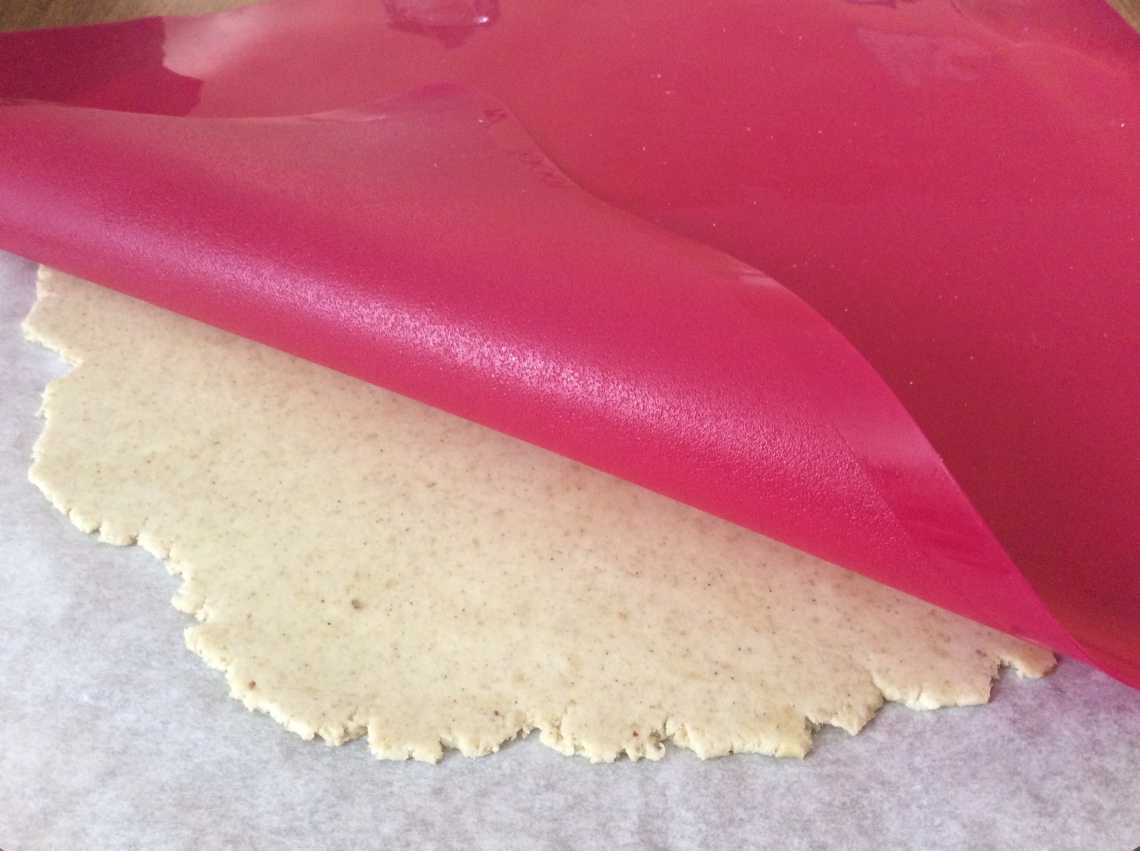
step 1: roll out the dough between the silicone mat and the drawer liner (lightly brushed with oil), smooth part down. Because the liner sheet is thicker and stiffer than parchment paper, the rolled out dough is very smooth. Peel off the plastic liner. Replace the liner sheet with parchment paper.Flip the “sandwich” over and peel off the silicone mat. The dough (along with the parchment paper) is ready to be placed in a pie dish… …like so. See how smooth it is?
From the small roll of plastic liner that I bought I was able to cut out several pieces that I use as patterns: circular ones to help me get the right size when I make smaller pies and rectangular ones for my homemade lasagna and pasta. I wash them with my silicone mat after using. This was one of those small purchases that I am very happy with!
(Please keep on reading for details in English)
Pendant trop longtemps, mon mari a été soigné pour de l'asthme, des allergies saissonnières, des yeux larmoyants et des migraines... jusqu'au jour où nous avons changé d'alimentation, éliminé gluten, produits laitiers et surtout tous les additifs, en particulier les sulfites. J'ai dû réinventer ma cuisine, ce qui m'a incité à faire ce blog où je partage les recettes qui fonctionnent pour nous. Bonne cuisine à tous!
For too many years, my husband was treated for asthma, seasonal allergies, watery eyes and migraines... until we changed our diet, eliminating gluten, dairy products and most of all any type of additive, in particular sulfites. My cooking had to change, which in time pushed me to start this blog where I share the recipes that work for us. Happy healthy cooking everyone! Note: many of these recipes are now available on
https://sulfitefreecooking.wordpress.com
View all posts by Joëlle


That’s ingenious, dear Joelle!
LikeLiked by 1 person
Simple and it does the job!
Have a good day and a nice Sabbath tomorrow 😊!
LikeLiked by 1 person
Thank you so much, dear friend! Have a great weekend!
LikeLiked by 1 person